![]()
Follow the instructions below to use the SoftBank Wi-Fi Spot (Free) service.
*You will need to be able to check your email without using Wi-Fi.
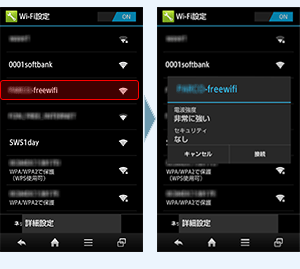
Using Android OS
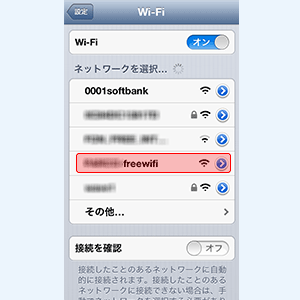
Using iOS
Select the SSID for the SoftBank Wi-Fi Spot (Free) in the area it is available.
The SSID and available area is different for each facility. Please check with the facility for more details.
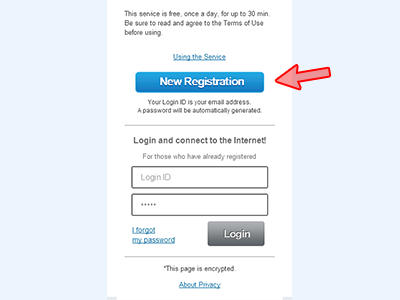
Open your browser, the login page will be shown when it tries to connect to the Internet. Press the “New Registration” button.
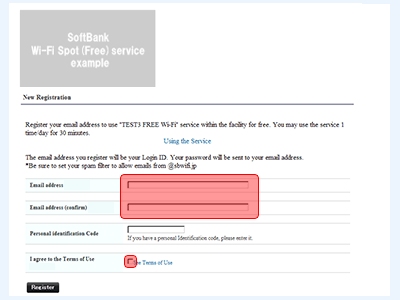
Enter your email address, check that you agree to the Terms of Use, and then press the “Register” button.
The email address you register will be your Login ID.
Depending on your location, there may be a “Personal identification code” option, but this is optional.
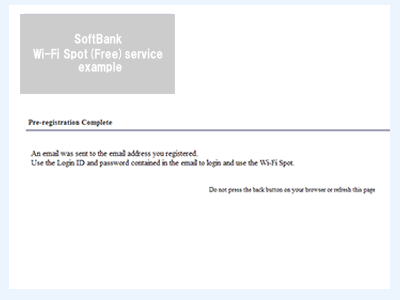
An email that contains your password will be sent to your email address.
Disconnect from Wi-Fi temporarily and check your email.
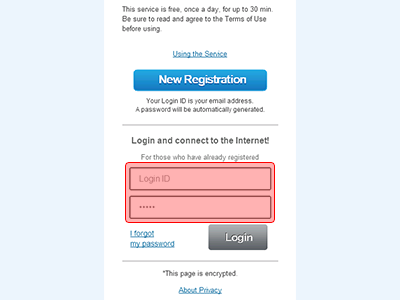
Connect to the SoftBank Wi-Fi Spot (Free) SSID once more. At the login page, enter your Login ID and password, and then press the “Login” button.

Once “You are now connected” is shown, you are connected to the Internet.
If you use the auto-complete feature on your browser, then you won’t have type your Login ID and password the next time you login.
Connect to the SSID for SoftBank Wi-Fi Spot (Free).
Open your browser, the login page will be shown when it tries to connect to the Internet. Enter your Login ID and password and press the “Login” button.
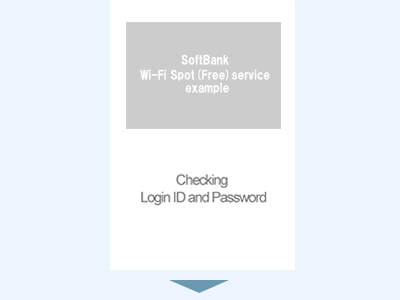
After “Checking Login ID” message is shown, a few seconds later the “Confirm Use” screen will be shown.
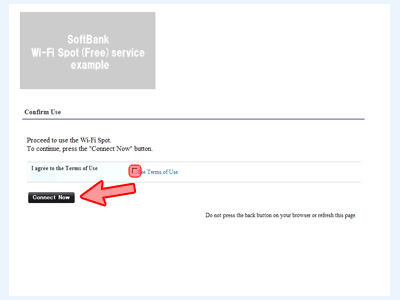
Check that you agree to the Terms of Use and then press the “Connect Now” button.
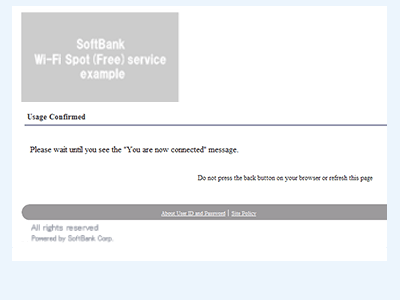
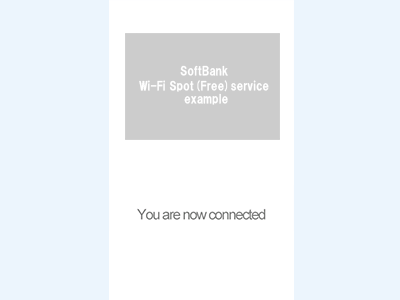
Once the “Usage Confirmed” page is shown and the message “You are now connected” is displayed, you are connected to the Internet.